docs / Guides / Getting started
Installation
Get genctl, run genroc in docker and start your first process.
The CLI
Install genctl by running following command in your terminal:
curl -fsSL https://genroc.org/install.sh | sh -sThis will copy the genctl binary to your default user scoped bin location.
Starting a project
Once you install genctl, you can create your first project with init command (we assume defaults are used):
genctl initEnter the project folder:
cd genroc-appOpen the project in your editor. With the default options it looks like this:
genroc-app/
├─ definitions/
│  └─ hello.genroc.yaml    # the example process definition
├─ .genroc                 # genroc configuration
├─ compose.yaml            # docker compose file for starting the server
└─ .gitignore
Editor support
If you use VS Code, we recommend installing genroc extension.
It provides language support for *.genroc.yaml files.
Running with docker
To continue you need to have docker installed on your system.
Following command will start docker containers:
docker compose up -dTry entering http://localhost:8448 to see if genroc is running correctly. If yes you should see genroc UI.
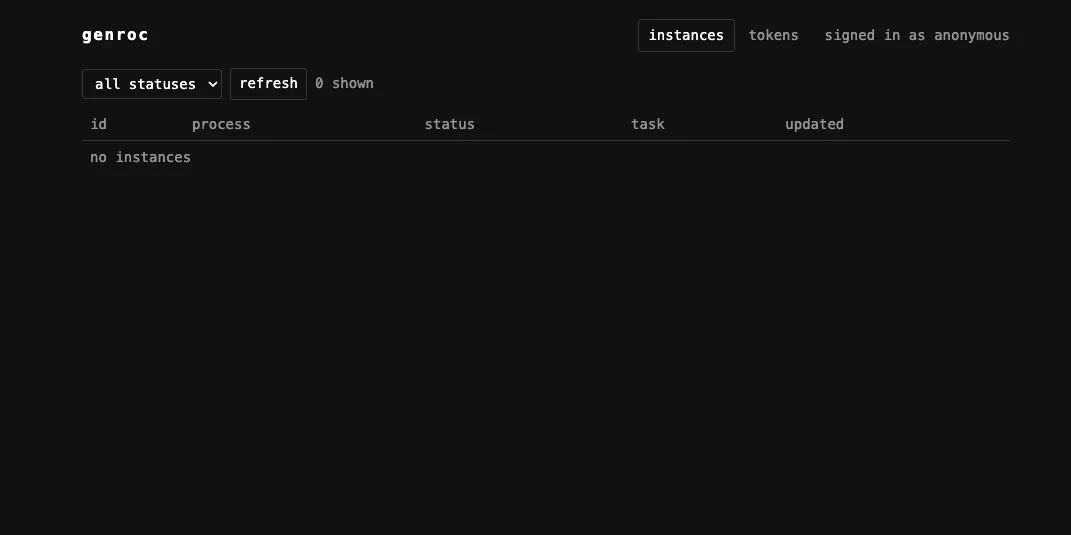
Genctl looks for genroc server on port 8448 by default, so it should now work as well.
> genctl instances
no instances
Should run without an error.
data folder
Our example project stores database files in the data folder. This folder is in .gitignore by default.
If you need to prune database just delete the folder and restart the server with docker.
Uninstalling
To uninstall genctl:
curl -fsSL https://genroc.org/install.sh | sh -s -- --uninstall [--purge]--purge also deletes your settings (config directory)